Managing a multitude of documents efficiently is a common challenge. Many individuals and professionals often find themselves juggling multiple PDF files, each containing essential information. Combining PDF files arises from the need to streamline document organization and enhance accessibility.
This blog aims to guide you through the process of merging PDF files, offering a solution to the scattered puzzle of documents in your digital workspace.
Why Combine PDF Files?
Streamlining Information from Various Sources
Imagine you have research notes, articles, and graphics scattered across multiple PDFs. Merging these files allows you to consolidate information into a single, coherent document, making it easier to reference and navigate.
Creating Unified Presentations
Professionals frequently encounter the task of preparing presentations that draw from different sources. Combining PDFs allows you to seamlessly integrate slides, charts, and documents, resulting in a cohesive presentation that captures all relevant data.
Simplifying Collaboration
Collaborative projects often involve the exchange of PDF documents. Merging these files not only reduces the number of attachments but also ensures that all collaborators are working with the most up-to-date and comprehensive information.
Enhancing Document Organization
For personal and professional purposes, maintaining an organized digital workspace is crucial. Merging PDFs assists in de-cluttering your files, providing a more systematic and efficient approach to document management.
3 Methods of Merging PDFs
Combining PDF files can be accomplished through downloadable PDF editing software or online platforms offering free PDF merging services.
❌
No more page removal issues. Let Nanonets take the wheel for flawless PDF page removal.
#1: Adobe Acrobat
Adobe Acrobat DC is a comprehensive PDF solution offering a wide range of features, including merging PDF files. The software provides a user-friendly interface and allows for precise control over the merging process.
Step 1: Open Adobe Acrobat DC
If you don’t have Adobe Acrobat DC installed, you’ll need to download and install it. Once installed, open the application on your computer.
Step 2: Access the “Tools” Tab
In the top left corner of the Adobe Acrobat DC interface, you’ll find a tab labeled “Tools.” Click on it to reveal a set of options.
Step 3: Select “Combine Files”
Under the “Tools” tab, locate and click on the “Combine Files” option. This will open a new window for the file-combining process.
Step 4: Add Files to Combine
In the “Combine Files” window, click on the “Add Files” button. Select the PDF files you want to merge from your computer. You can also drag and drop the files directly into the window.
Step 5: Arrange the PDFs
After adding the files, you can arrange them in the desired order. Drag and drop the PDF thumbnails to rearrange the pages if needed.
Step 6: Choose Merge Options
On the right side of the “Combine Files” window, you’ll find options for customization. Choose your preferred settings, such as a single PDF or a portfolio, and whether you want to add bookmarks.

Step 7: Combine Files
Once you’ve organized the files and selected your options, click the “Combine” button. Adobe Acrobat DC will merge the selected PDFs into a single document.
Step 8: Save the Merged PDF
After the merging process is complete, click the “File” menu and choose “Save” to save the newly combined PDF. Specify the file name and location on your computer.
#2: Using Online PDF Merge Tools
Step 1: Access Online PDF Merge Tools
Visit any online PDF merge tool website like SmallPDF.
Step 2: Upload Your PDF Files
Look for an option to upload or drag-and-drop your PDF files onto the website. Most tools typically have an intuitive interface for this purpose. Click on the designated area or button to initiate the file upload process.
Step 3: Arrange the PDFs (if applicable)
If the tool allows you to arrange the order of the PDF files, do so as needed. Some online tools visually represent the pages, allowing you to rearrange them easily.

Step 4: Merge the PDFs
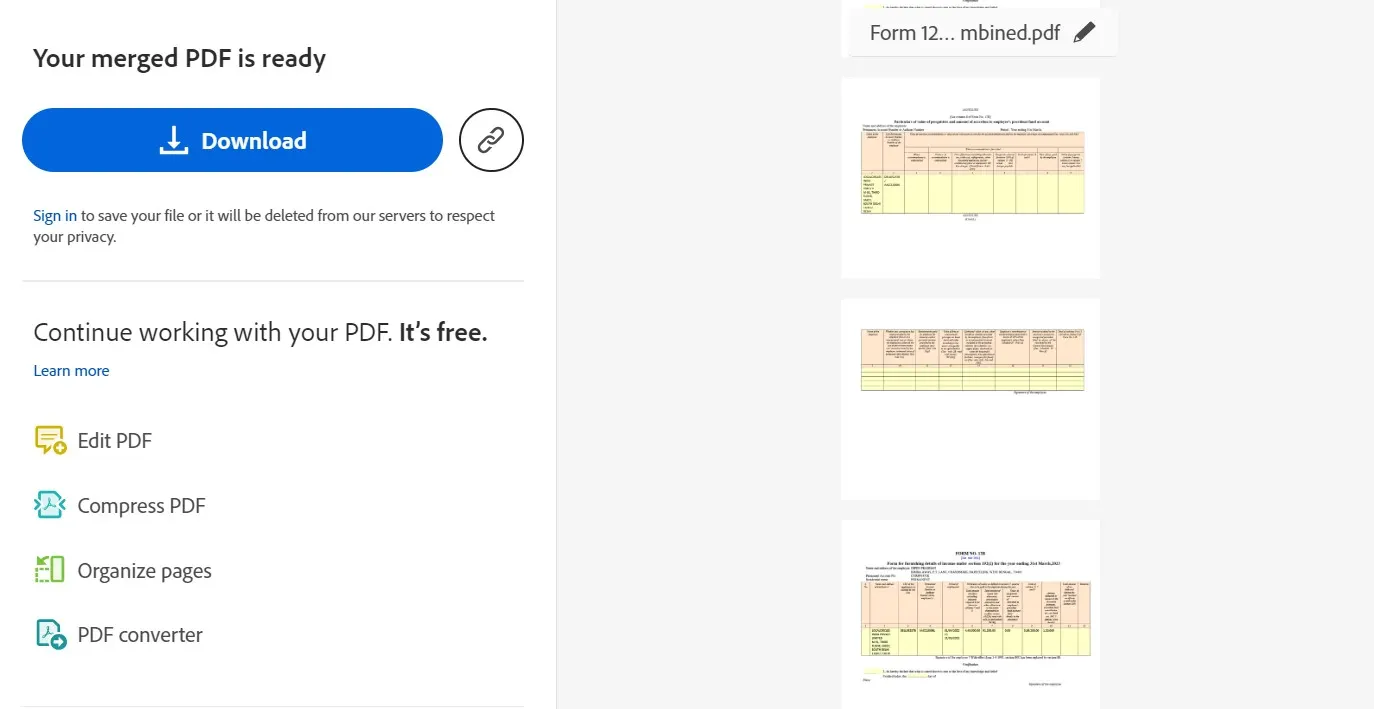
Once your files are uploaded and arranged, find the “Merge” or “Combine” button. Click on it to start the merging process. The tool will process your files and generate a merged PDF.
Step 5: Download the Merged PDF
After the merging process is complete, the online tool will usually provide a download link or button. Click on it to download the merged PDF file to your computer.
Step 6: Additional Options (if available)
Some online tools may offer additional options like password protection, compression, or watermarking. Explore these features based on your requirements.
#3: Using MAC Preview
Step 1: Open the PDFs in Preview
Locate the PDF files you want to merge on your Mac. Open the first PDF file with Preview.
Step 2: View Thumbnails
Click on the “View” menu in Preview. Select “Thumbnails” to display a sidebar with thumbnails of the pages in the PDF.
Step 3: Open the Second PDF
Open the second PDF file with Preview.
Step 4: Drag and Drop
In the second PDF’s Thumbnails sidebar, click on a page. Drag the selected page(s) from the second PDF’s Thumbnails sidebar to the first PDF’s Thumbnails sidebar.
Step 5: Arrange Pages
Rearrange the pages if needed by dragging them into the desired order in the Thumbnails sidebar.
Step 6: Save the Merged PDF
Once you have arranged the pages, go to the “File” menu. Choose “Export as PDF…”
Specify a name and location for the merged PDF. Click “Save.”
Step 7: Confirm and Review
Open the newly saved PDF to confirm that the pages from both documents are successfully merged.


